

Bear Mountain Builds
Midsize Workbench
Midsize Workbench
Couldn't load pickup availability
Product Description
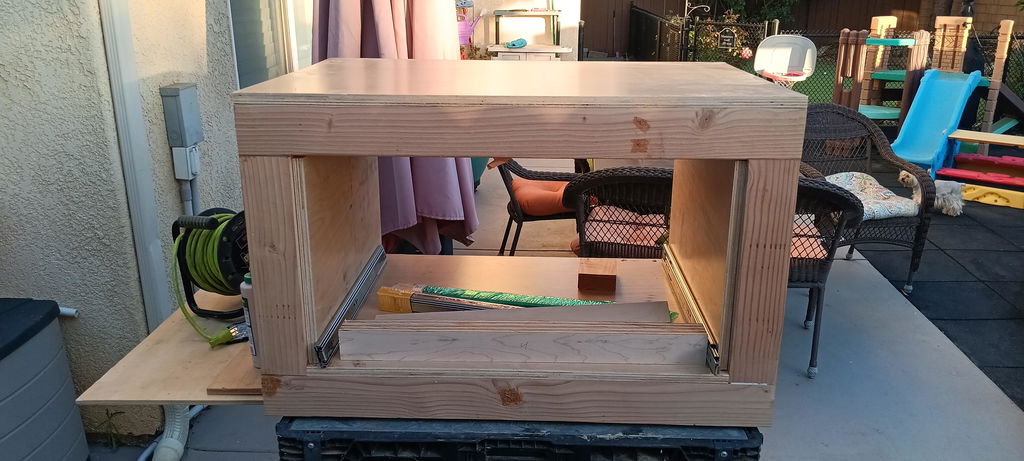
Benchtop tools like a drill press, band saw, router table, or jointer are too tall for a standard workbench — this midsize workbench is built to the right height so those tools actually work the way they're supposed to. No more hunching over or building a separate stand for every tool. If you don't run benchtop tools, it also works as a solid medium-height surface for projects that have outgrown your regular workbench.
Built from standard 2x4 construction lumber with two 3" drawers and one 8" drawer for storage, this bench is designed to suit all experience levels — the detailed cut plan makes assembly a breeze. An automatic calculator custom-fits the whole build to your shop, so just plug in your numbers and the plans adjust to fit.
Built-In Calculator
Change a number, and the entire cut list, cut plan, and 3D diagrams update to match. No redrawing plans, no manual math.
- Set your own overall width, depth, and height so the bench lines up exactly where you need it
- Input your 2x4 dimensions (standard, milled, or metric) and the plans recalculate every cut to match
Plans Include:
- Digital PDF download — 21 pages that include everything you'll need to build this midsize workbench
- Built-in calculator that custom-fits overall dimensions and 2x4 sizing to your shop
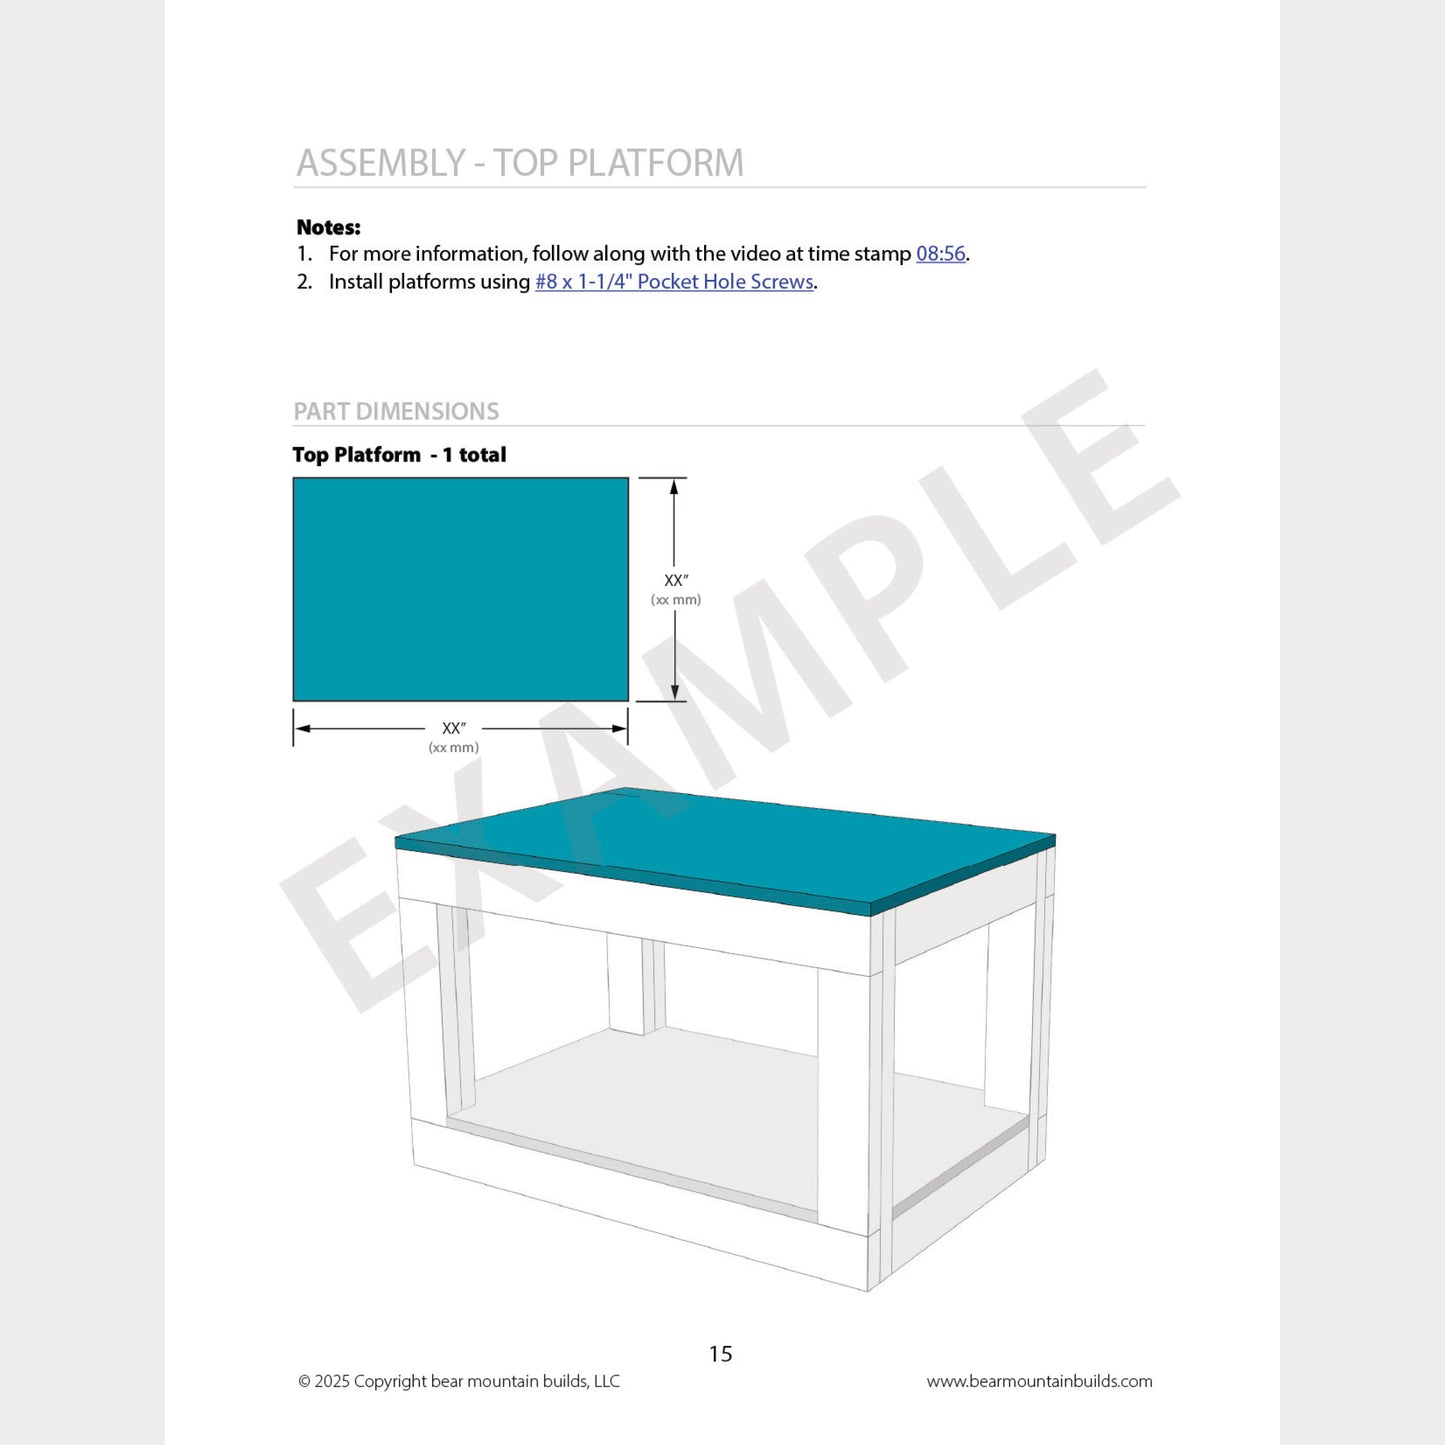
- Color coded 3D images and cut plans so you know exactly where every piece goes
- Full material list with links to all hardware so you don't have to go searching
- All dimensions in inch and millimeter units
- Cut plan for two 3" drawers and one 8" drawer
3D Model Available
- Make modifications to the design easily
- Get the 3D model in the following file formats: Autodesk Fusion (.f3d), Sketchup (.skp), and Autodesk Inventor (.ipt/.iam)
- Bundle and save by getting the models and plans at the same time!
See the full step by step build video HERE



Great idea and the plans made the building easy. It’s really nice to have a variety of options with your designs. I’m in the process of building this workbench and when my wife saw it she said it was really cute! She’s use to seeing the larger versions.
The links to the parts suppliers makes it easy to complete the project in a reasonable amount of time.
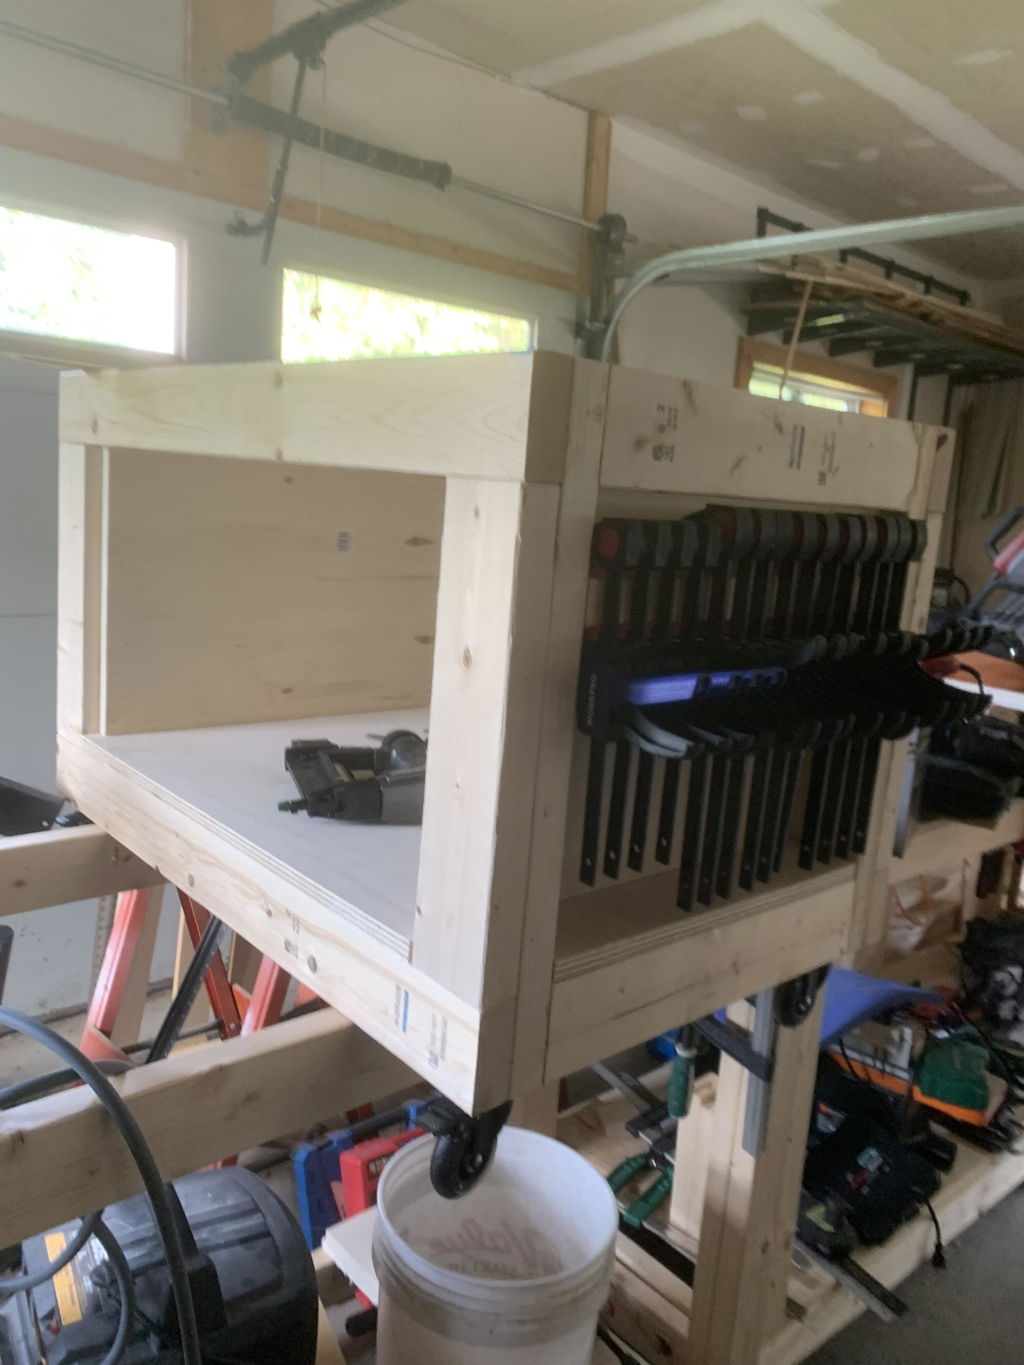
Well detailed plans, as always. Thank you!
Easy to follow and understand
Having looked at it looks good not made it yet
I wish I had used a planer on the 2X4's for width consistency. It would be helpful if you could have included the measurements of the open face of the cabinet once the sides are installed to determine the accuracy of the build.